
Most people spend weeks, sometimes months, thinking about their tattoo idea before they ever reach out to an artist. They know what they want, or think they do. What they rarely know is what happens between having that idea and sitting in the chair. Understanding the custom tattoo design process is what closes that gap: it has more moving parts than most clients expect, and knowing those parts is what separates a tattoo you love from one you settle for.
At Tattoo Garden, I've walked hundreds of clients through this process over nearly two decades. The ones who arrive informed tend to leave happier, not because the tattoo was easier to make, but because they knew how to participate in it. Below is an honest breakdown of every stage: consultation, references, sketching, revisions, stencil prep, and what drives the final cost.
Custom Tattoo Design Process: What to Expect at Consultation
A consultation is not just a chance to show your idea to an artist. It is the artist's opportunity to assess feasibility before a single line is drawn. That means looking at placement on the body, considering skin tone and texture, evaluating whether the intended size works with the body part, and determining whether the style you want suits the concept you have. A good tattoo consultation process asks as many questions as it answers.
In a high-volume walk-in shop, consultations are often rushed. The floor runs on throughput, and there is not always time to slow down and dig into what a client actually needs. At a private, appointment-based studio like Tattoo Garden, the consult is unhurried, one-on-one, and free. Michael T. Gardner uses that time to understand not just what you want the tattoo to look like, but why you want it, what it means, and what your expectations are for the experience. That difference in pace shapes everything that comes after.
By the time you leave a solid consultation, you should have clarity on five things: approximate size, placement, style direction, a rough timeline, and what the next steps look like. If you walk away without those answers, something important was missed, and it is worth asking before you go.
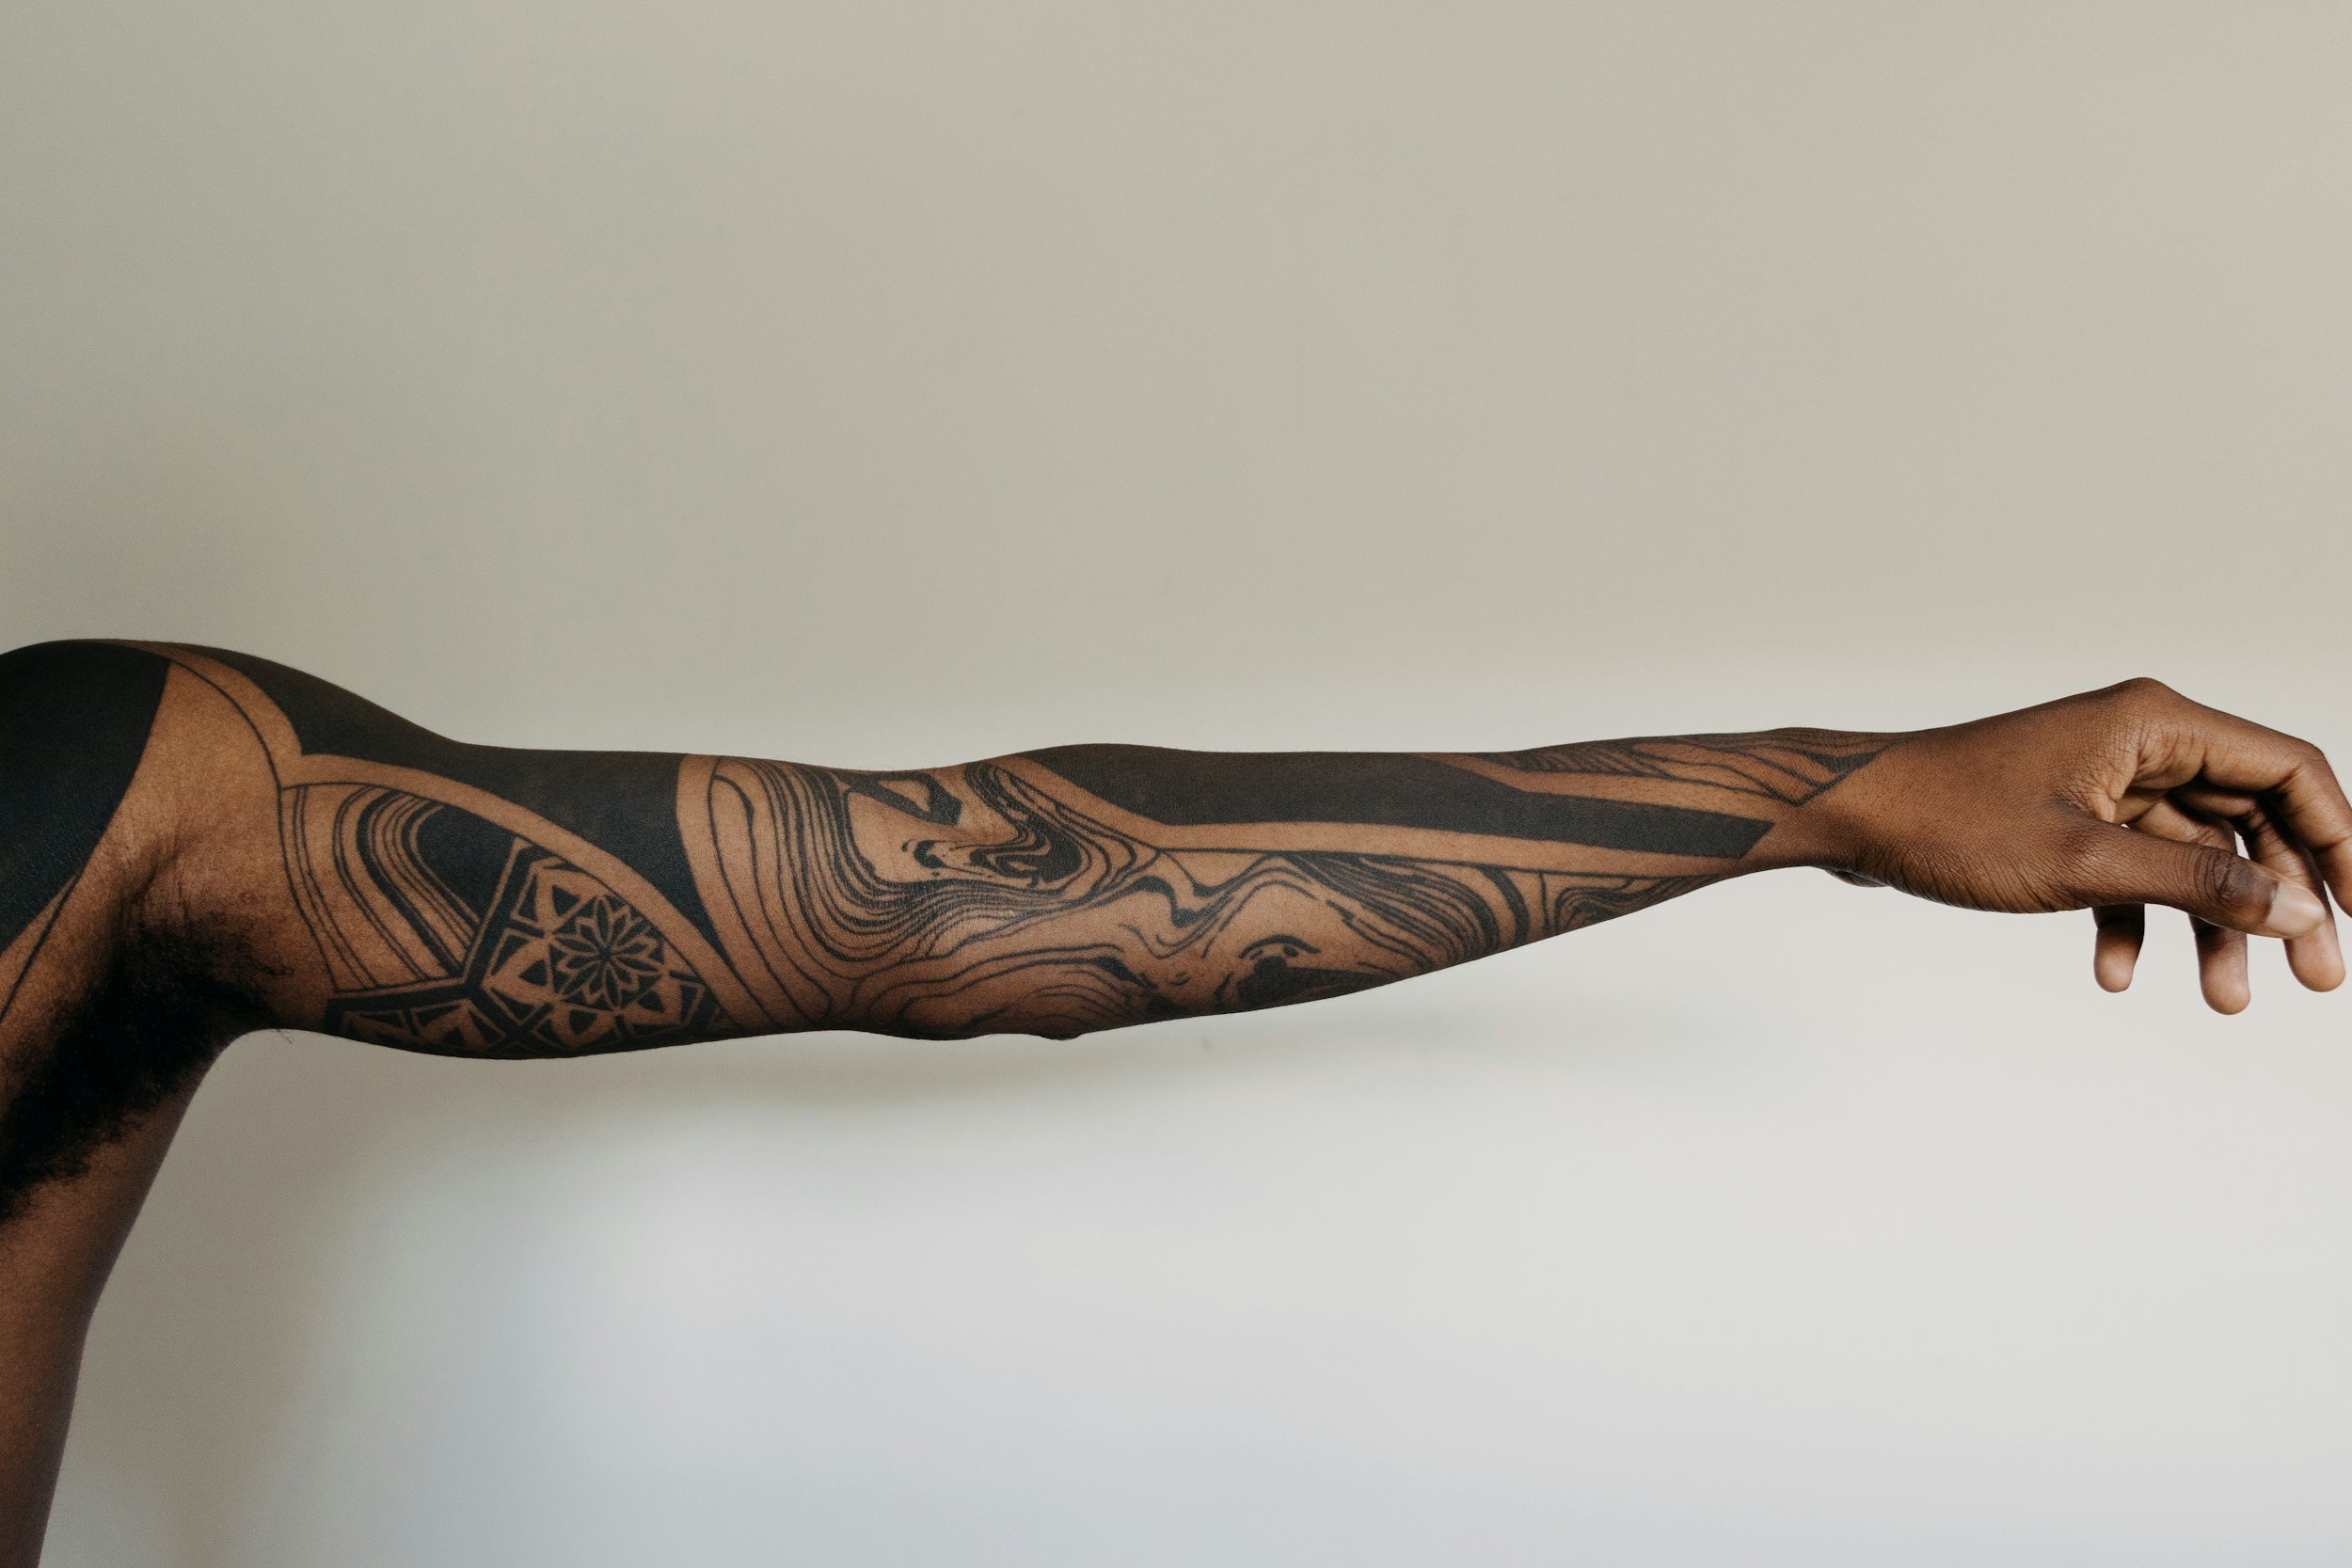
Building a Reference Collection That Actually Helps
Artists are not mind readers. References are the closest thing to a shared visual language between you and the person drawing your tattoo. Bringing the right ones shortens the tattoo design steps and cuts down on revision rounds. Bringing the wrong ones, or too many conflicting ones, creates confusion that slows everything down.
The most useful reference sets cover three distinct categories. Subject references show what the tattoo depicts: a specific flower, an animal, a portrait, a meaningful object. Style references show how it should be rendered, line weight, shading approach, black-and-grey versus color, overall density. Composition references reveal how elements are arranged: tight and centered, flowing with the body, multiple elements balanced across a space. Aim for five to ten images total. Quality and clarity beat volume every single time.
One of the most common mistakes clients make is bringing a photo of a wolf and saying "I want this." That is the subject, not the style. A wolf can be rendered in realism, neo-traditional, fine line, or blackwork, and each of those requires completely different information to execute well. Learning to separate subject from style before your consult removes a significant amount of back-and-forth from the process.
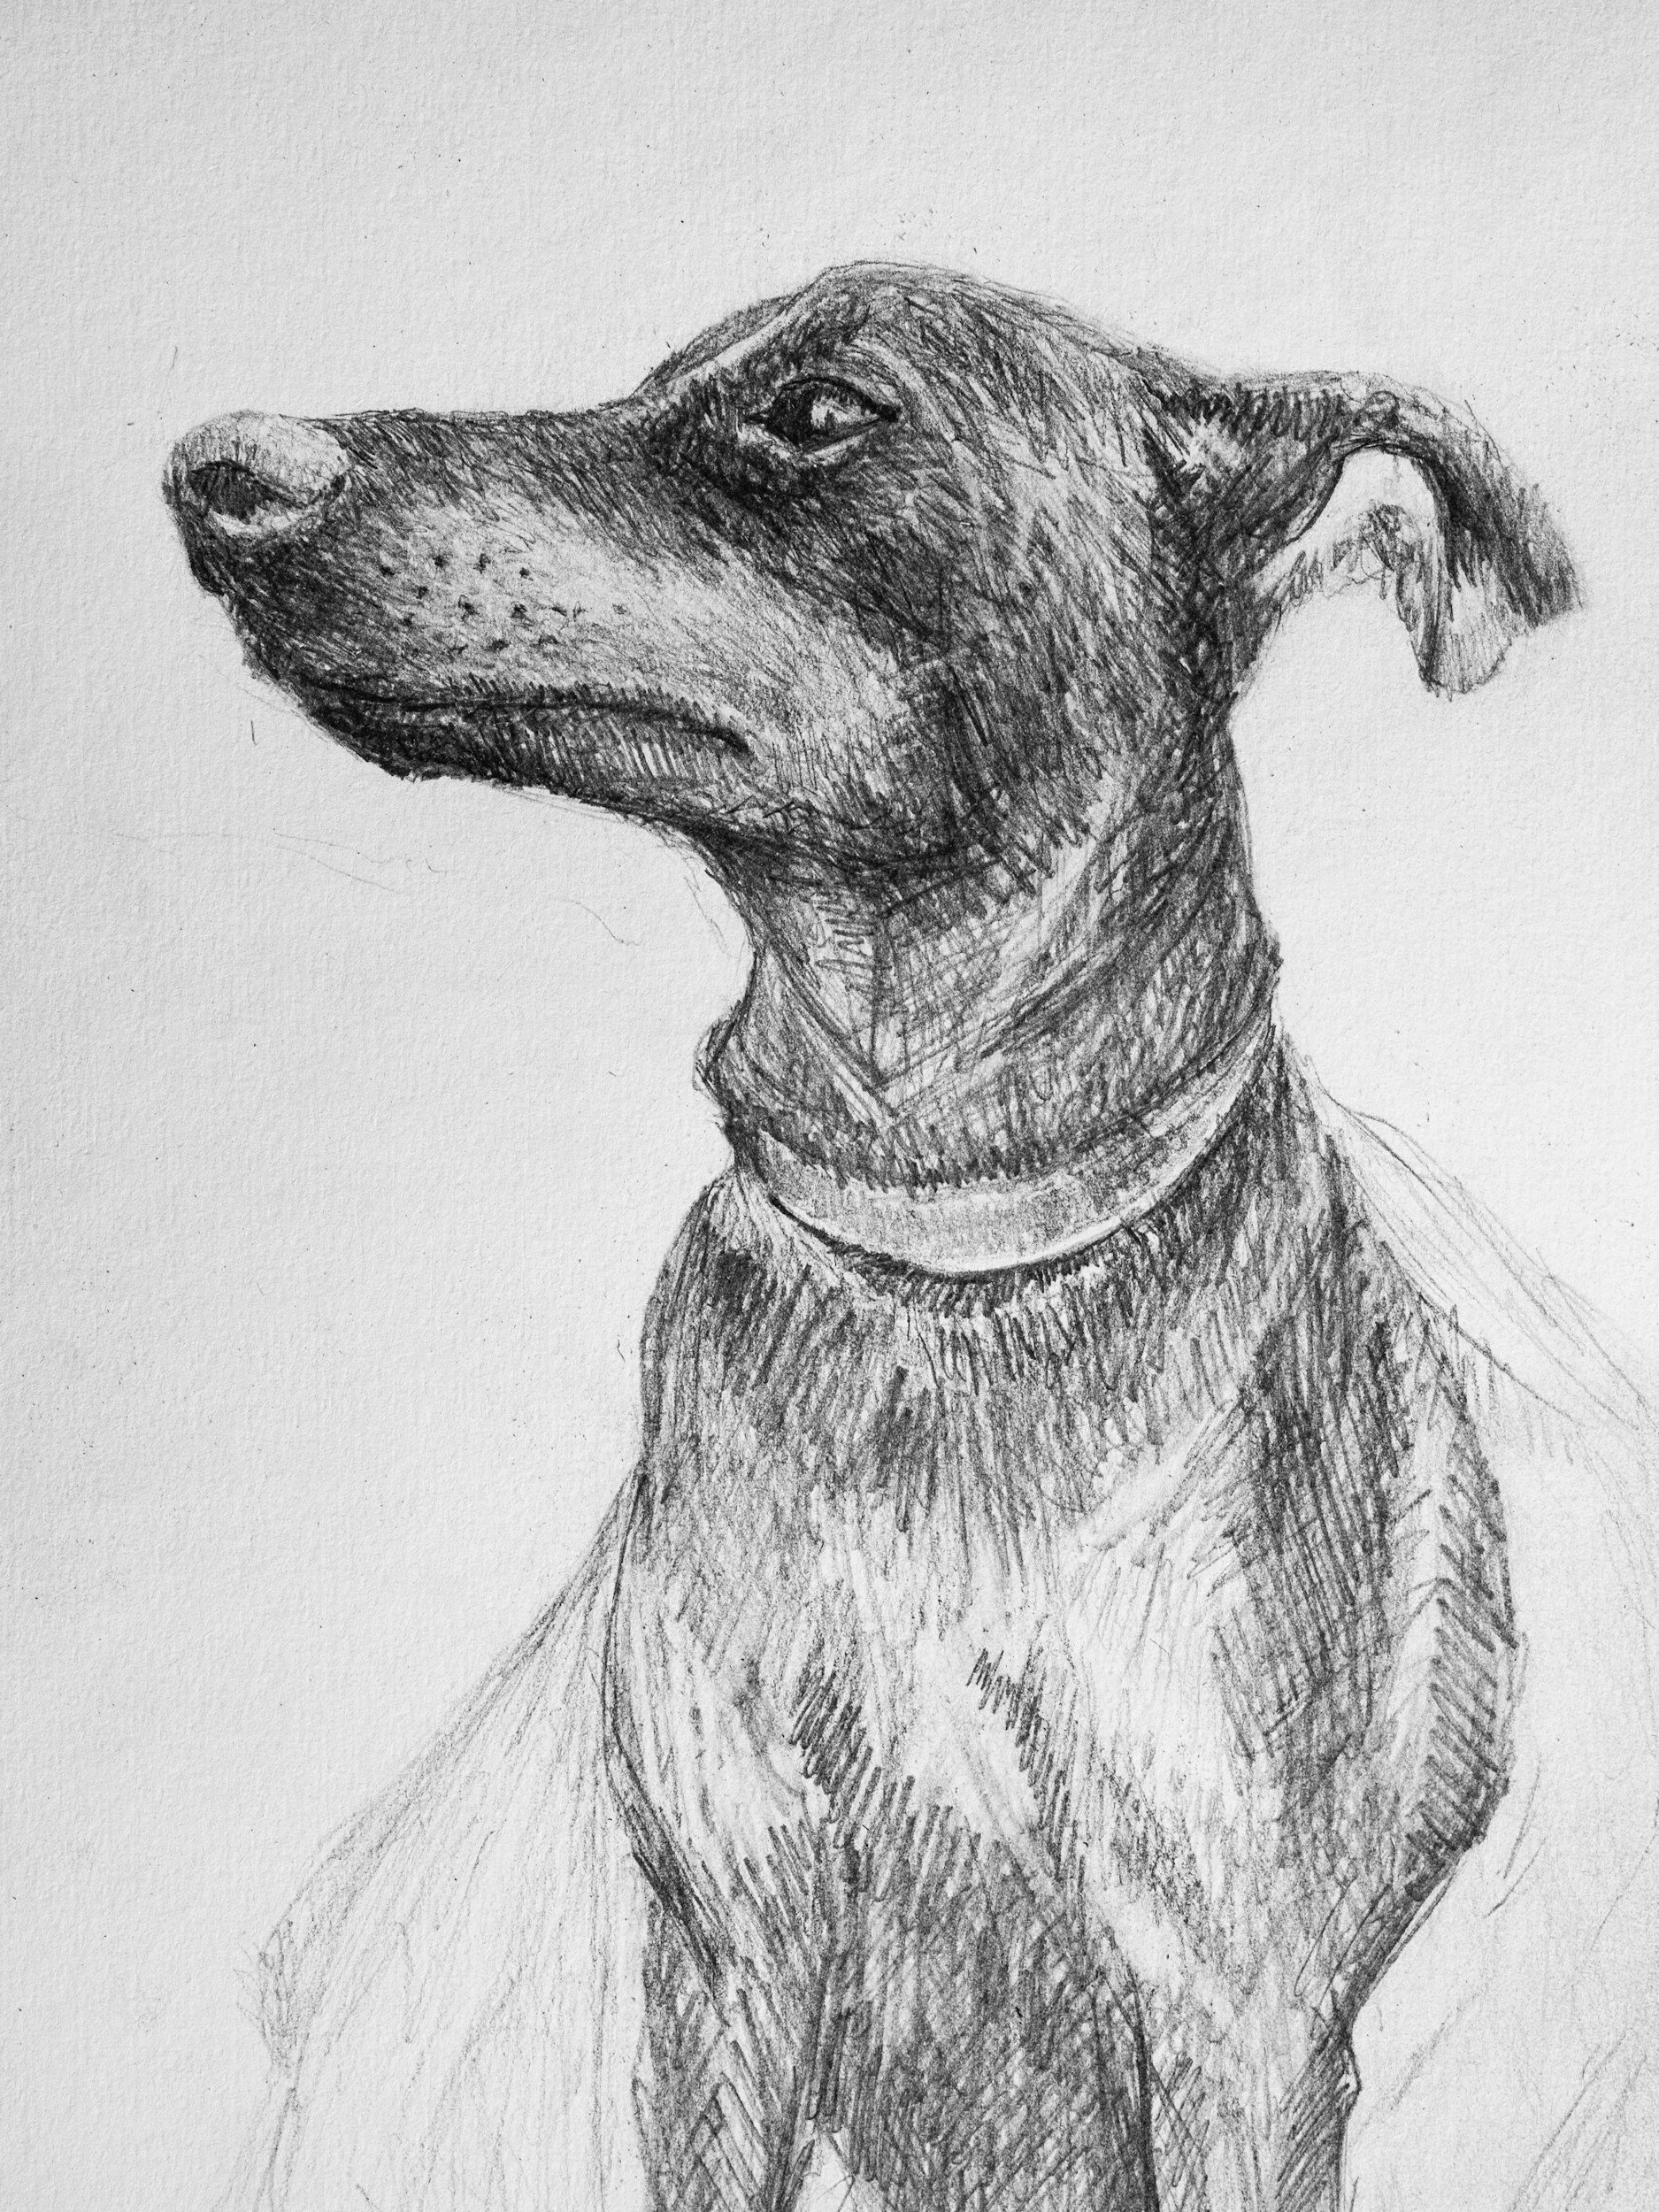
How the Custom Tattoo Design Process Moves from Idea to Sketch
Rough sketches are not finished drawings, and clients who treat them as such often misread the stage they are looking at. A rough sketch is a compositional test: where the focal point sits, how the elements balance, and whether the overall shape works with the body part being tattooed. At this stage, the artist is solving a spatial problem, not rendering final detail. Expecting a polished piece from a first rough is like expecting a finished house from a floor plan.
Many artists now work digitally using tools like Procreate, which makes scaling and layering faster and allows for cleaner revisions when changes are needed. Others still work on paper and scan. Neither approach is inherently better. What matters is whether the artist can translate the final drawing into a clean, accurate stencil. Digital workflows do tend to make the revision process faster, which benefits the client directly when adjustments are needed after the first draft.
For a simple-to-moderate custom piece, a first sketch typically arrives within a few days to two weeks after the consultation. More complex projects take longer. Before showing you anything, a thoughtful artist has already made decisions about line weight, negative space, placement flow, and how the design will read on skin after it heals. Understanding that helps clients engage with the sketch more constructively rather than reacting to surface-level details in an unfinished draft.
Revision Rounds: What's Normal and How to Communicate Clearly
For most custom tattoos with moderate complexity, one to two revision rounds is the standard. Major changes to composition or concept after the sketch is presented often signal a mismatch that could have been caught earlier in the consultation. This is not a criticism of the client. It usually means the original brief needed more clarity before design work began, which is exactly why the consultation stage deserves real attention.
Feedback quality matters as much as feedback quantity. Vague feedback like "it doesn't feel right" or "something is off" leaves an artist with nowhere to go. Specific feedback like "can the lettering be larger and the floral element shifted to the left" allows the artist to act immediately and precisely. When giving revision notes, focus on what you want to keep, what needs to change, and why that change matters to you. That information gives the artist what they need to move forward without guessing.
How to give specific feedback
Anchor your comments to specific elements rather than overall impressions. Reference the sketch directly, point to a section, name a detail, describe a proportion. "The rose feels too small relative to the lettering" is actionable. "Something feels off" is not.
Typical revision count
One round handles most adjustments. Two rounds are reasonable for complex pieces or designs that evolved significantly from the original brief. If a third round is needed, that usually signals a mismatch at the consultation stage worth discussing openly with your artist before work continues.
Once both the artist and client agree the drawing reflects the original intent and the client signs off, the design moves to stencil preparation. At that point, major changes become costly and disruptive. Taking the time to be genuinely certain before approving protects everything that came before it.
Stencil Prep and What Happens on Tattoo Day
The approved design is cleaned up into bold black line art and sized to the exact tattoo dimensions. It is then printed onto thermal stencil paper, which transfers the design outline via heat onto the top layer. That stencil is applied to the skin using a transfer solution, creating a temporary outline the artist tattoos over. The sizing is set intentionally at this stage, not adjusted on the fly.
Before any tattooing starts, the artist positions the stencil and asks you to check it carefully: size, placement, orientation, and how it reads on your actual body. Tattoo placement and sizing guidance matters here more than most clients realize. Lighting, posture, and the natural curves of your body all affect how a design sits in real life versus how it looks on a flat piece of paper. This is the last moment to request a placement adjustment without consequence, and it deserves your full attention.
Clients are sometimes so eager to get started that they rush through the stencil check. That is a mistake worth taking seriously. A few extra minutes confirming the stencil is exactly right protects every hour of work that went into getting there.
What Drives the Timeline and Cost of a Custom Piece
Custom tattoos cost more than flash designs because the design work alone has real value. Before a needle touches your skin, an artist has invested time in the consultation, research, sketching, revisions, and stencil preparation. That labor is part of what you are paying for. A flash design is priced lower because that work is already done. Custom work costs more because nothing about it was ready before you walked in.
The main factors that shape what you pay are:
Size and estimated session time: larger tattoos take longer, and many studios price by the hour or estimated session length
Design complexity and detail level: realism, fine line, geometric precision, and heavy shading all require more skill and time than bold traditional work
Color versus black-and-grey: color work typically adds time and may require additional sessions
Placement difficulty: ribs, hands, necks, and other challenging areas slow the process and can affect the final price
Artist experience and reputation: a seasoned artist with a strong portfolio and a waitlist charges accordingly
Larger or more complex pieces are often split across multiple sessions, each billed separately. During the consultation, ask for a ballpark estimate and an expected session length. A transparent artist will give you a range based on the design direction discussed. Coming in with a realistic budget in mind also helps the artist propose a scope that works for both of you, rather than designing something that surprises you at checkout.
The Process Is Collaborative by Design
The custom tattoo workflow is not a transaction where you hand over an idea and wait for a result. It is a conversation that unfolds across multiple stages, and your participation in each one directly affects the outcome. The more informed you are going in, the more useful you are as a collaborator, and the better the tattoo that comes out.
Understanding each tattoo design step, from what to bring to a consult, to how to give revision feedback, to why the stencil check matters, removes the anxiety that comes from not knowing what to expect. It also builds the kind of trust between client and artist that makes the whole experience worth having.
If you are thinking about a custom piece and want to talk through the idea before committing to anything, a free consultation is the right first step. If you want to understand the full custom tattoo design process before your first appointment, that conversation is exactly what the consult is for. Tattoo Garden operates on an appointment-only basis, which means when you come in, the time is yours. Get in touch to start that conversation at your own pace, with no pressure to commit on the spot.