
First Tattoo Tips: An Honest Guide for First-Timers
Many people feel a particular kind of nerves right before their first tattoo appointment. Not exactly excitement, more like stepping off a familiar sidewalk onto something you can't quite read yet. Those nerves are real, and they're completely normal. A major contributor to that anxiety is uncertainty, and these first tattoo tips exist to address exactly that. Clear, honest information is one of the most effective ways to walk in feeling prepared rather than rattled.
This is a practical, judgment-free walkthrough of everything a first-timer genuinely needs: how to find the right artist, how to prepare your body, what pain actually feels like, and how to care for your tattoo through every stage of healing. The studio environment you walk into shapes the experience in ways most guides don't bother to mention. Private, appointment-only studios tend to be calmer and more focused than high-volume walk-in shops, a meaningful difference when you're already managing nerves. Tattoo Garden, a private studio in Everett, Washington near the BC border, is one option worth knowing about if you're in the Greater Vancouver or Fraser Valley area.
First tattoo tips for choosing the right artist
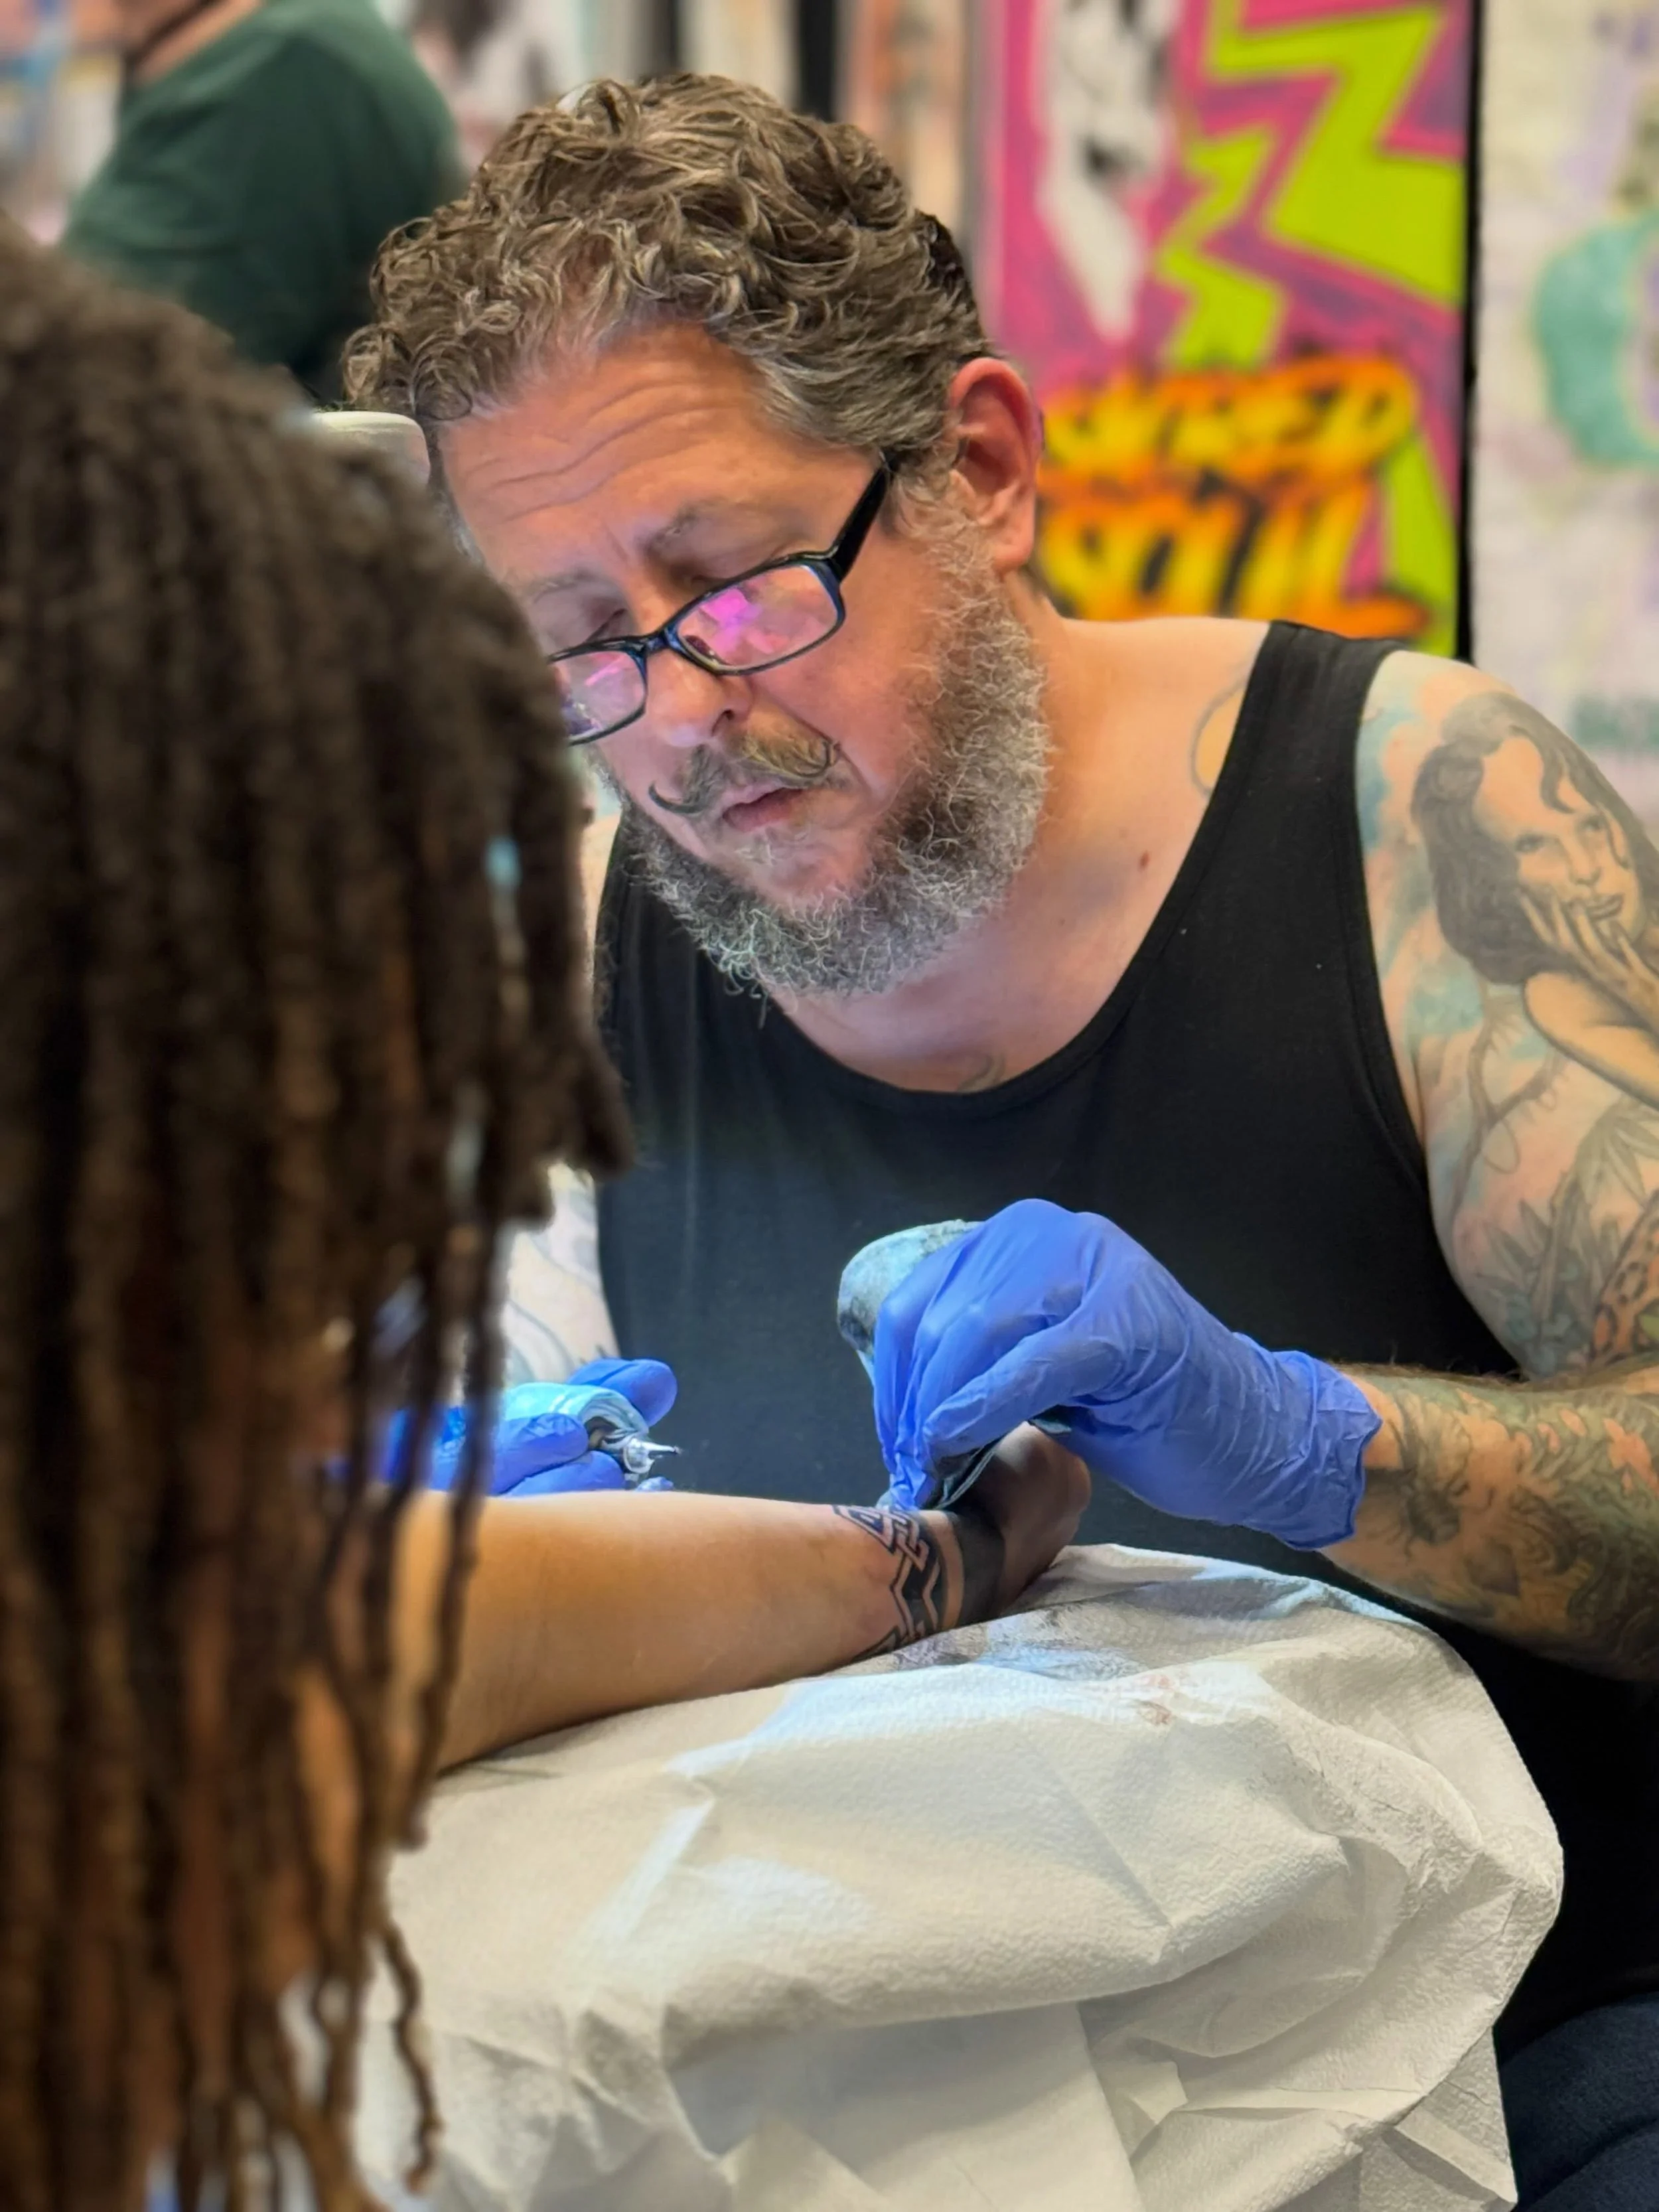
Artist selection is the foundational decision. A great idea handled by the wrong artist will still disappoint. Before you think about placement, style, or pain levels, spend time finding someone whose work actually holds up.
What a strong portfolio actually tells you
Look for consistency across many pieces, not one standout image. Clean line work, even shading, and solid color saturation across the whole portfolio signal a reliable artist. Style match matters more than sheer reputation. An artist whose portfolio is mostly in the style you want is a better fit than a generalist with impressive range but weak execution in your specific style.
Ask for healed-work photos. Fresh tattoos can hide problems that show up weeks later: blurring, patchy shading, uneven color lift. Healed photos are the real test of whether an artist's work holds together.
The hygiene and licensing checks that protect you
A clean, organized studio is the baseline. Needles should be single-use and opened in front of you, this is a widely recognized industry standard backed by public health guidelines. Gloves should be worn consistently. Surfaces should be disinfected between clients. Ask whether they use an autoclave for sterilization and whether it's regularly tested. If a studio is hesitant to answer basic hygiene questions, that hesitation is your answer.
Verify licensing. The artist and studio should have current health permits. Red flags include inconsistent portfolio quality, no healed-work photos, and any pressure to book without a real consultation first.
Why a private studio environment changes things for first-timers
A calm, appointment-only studio removes the noise of high-volume walk-in shops. No line of strangers, no competing conversations, just focused one-on-one time with one artist. For nervous first-timers, that distinction matters more than most guides acknowledge. Research comparing private and walk-in studio experiences consistently shows that quieter, appointment-based settings reduce situational anxiety and allow for more thorough pre-session conversations. If you're considering Tattoo Garden, check their current consultation policies directly before booking.

First tattoo tips: how to prepare your body before the appointment
Your physical state directly affects how your skin takes ink and how well you tolerate a session. This isn't about rituals. It's about showing up ready.
Hydration, sleep, and food: the actual non-negotiables
Hydrate consistently for one to two days before, rather than loading up on the morning of your appointment. Sleep a full night beforehand. Eat a real meal with carbohydrates and protein before you arrive. For longer sessions, bring snacks and water with you.
These aren't optional comfort tips. Stable blood sugar reduces lightheadedness and makes the session physically easier to sit through. Fatigue and hunger both amplify pain perception. Showing up well-rested and fed is one of the most practical things you can do.
What to skip before you sit in the chair
Avoid alcohol for at least 24 hours beforehand. Skip ibuprofen, naproxen, and aspirin, they thin blood and affect how cleanly the artist can work. If you need pain relief before the session, acetaminophen (Tylenol) is the safer option.
Keep skin clean in the days leading up to your appointment. Moisturize if it's dry, but skip heavy creams, oils, or fragrances the day of. Avoid sunburn, tanning, harsh exfoliants, and retinoids on the tattoo site for at least a week before you go in.
Placement and design decisions first-timers often rush
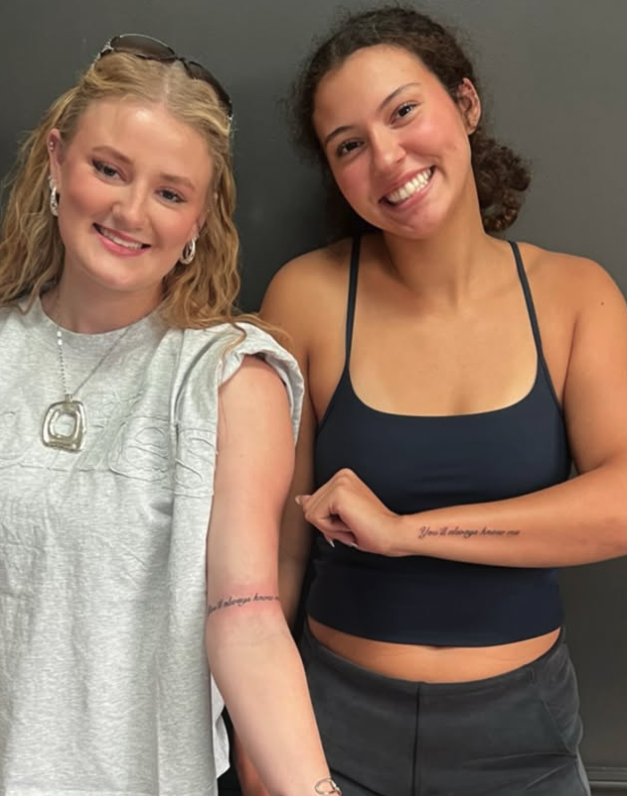
Where you put your first tattoo affects both the experience and how the piece ages. It's worth thinking through calmly rather than deciding in the moment.
How pain levels vary across the body
Areas with thin skin, minimal padding, or close proximity to bone tend to hurt more. Ribs, elbows, kneecaps, hands, and feet are among the more intense spots. For a first tattoo, fleshier areas are generally more manageable: the outer upper arm, outer thigh, shoulder blade, and calf are consistently recommended starting points. "Manageable" is relative, though. Your best source of realistic expectations is an honest conversation with your artist before the session.
Communicating your design idea to the artist
You don't need to arrive with a finished concept. Reference images, rough sketches, written descriptions, and mood boards all work. A skilled artist will ask clarifying questions about scale, placement, and meaning before drawing anything.
A good pre-session conversation has a few markers. The artist listens more than they talk. They push back thoughtfully when something won't translate well to skin. They check in on what the tattoo means to you before settling on a direction. If an artist skips all of that and jumps straight to booking, that's worth noticing.
Managing pain and nerves honestly
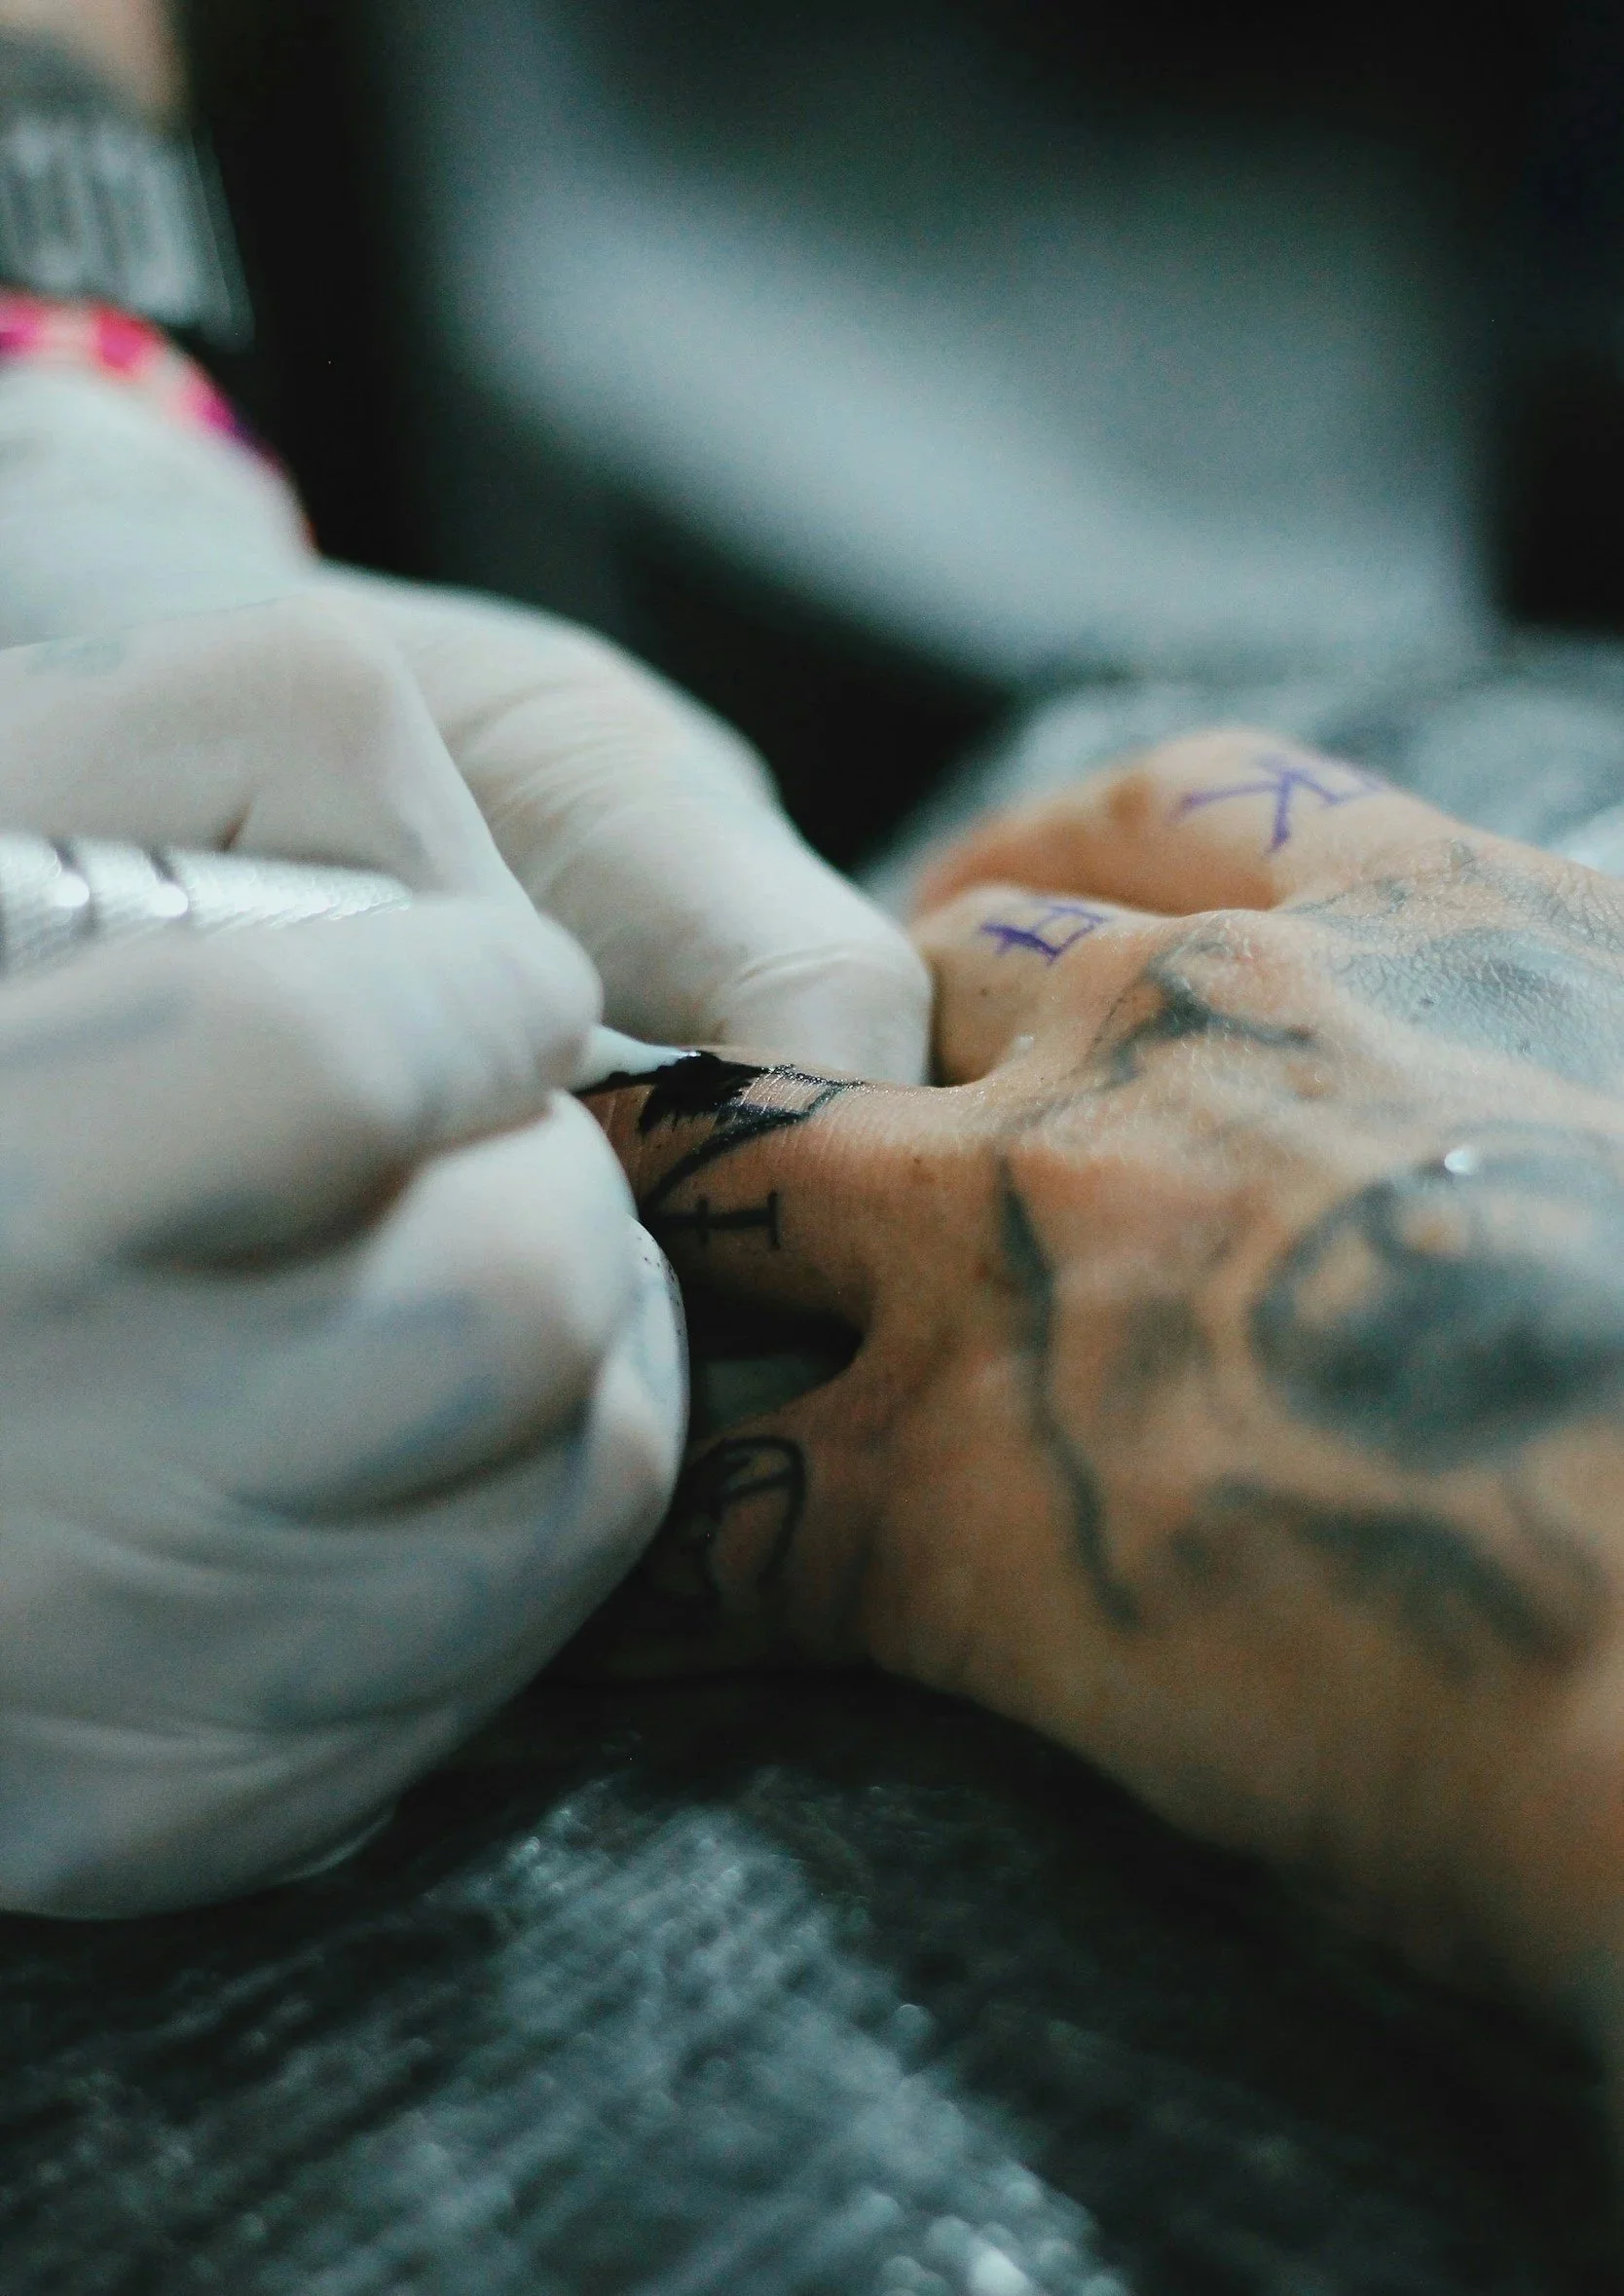
Pain is real and it's manageable. Knowing what to expect in advance, one of the most useful first tattoo tips, does more to reduce discomfort than almost anything else.
What tattoo pain actually feels like
Most people describe it as a scratching or burning sensation rather than sharp or stabbing pain. The intensity varies by placement, session length, and individual tolerance. The anticipation of pain is often worse than the pain itself. That's not a reassurance, it's just what most people report.
What helps before, during, and after the session
Before: take acetaminophen if you want an over-the-counter option. Avoid ibuprofen and aspirin for the reasons already covered.
During: controlled breathing is genuinely effective, studies on pain and anxiety management consistently support this. Short breaks are normal for longer sessions. Keeping a light conversation going with your artist is a real distraction technique, not just small talk.
After: acetaminophen for soreness, cold compresses wrapped in cloth for swelling. Some artists work with topical numbing creams, but always ask before applying anything to the site so it doesn't interfere with the session.

What the healing process actually looks like, week by week
Most guides rush this section. Most first-timers panic at normal healing because no one told them what normal looks like. Here's what to expect.
Tattoo healing timeline: week by week
Days 1 to 3: redness, warmth, tenderness, and light plasma or ink seepage that gradually improves
Days 4 to 7: itching begins, skin tightens, light scabbing may start
Week 2: peeling and itching peak; do not pick scabs
Weeks 3 to 4: surface closes, flaking stops, the tattoo may look milky or dull before sharpening again
Months 2 to 6: deeper healing continues even when the tattoo looks finished on the outside
Normal healing vs. signs something is wrong
Mild early redness, itching, and light scabbing are expected. What warrants attention is different: redness that spreads or streaks outward, increasing pain or heat after the first few days, yellow or green discharge, fever, chills, or a raised itchy rash limited to one ink color.
A simple rule: if symptoms are improving, healing is likely on track. If they worsen after the first few days rather than improving, contact a healthcare provider instead of waiting it out.
Tattoo aftercare tips that actually protect your tattoo
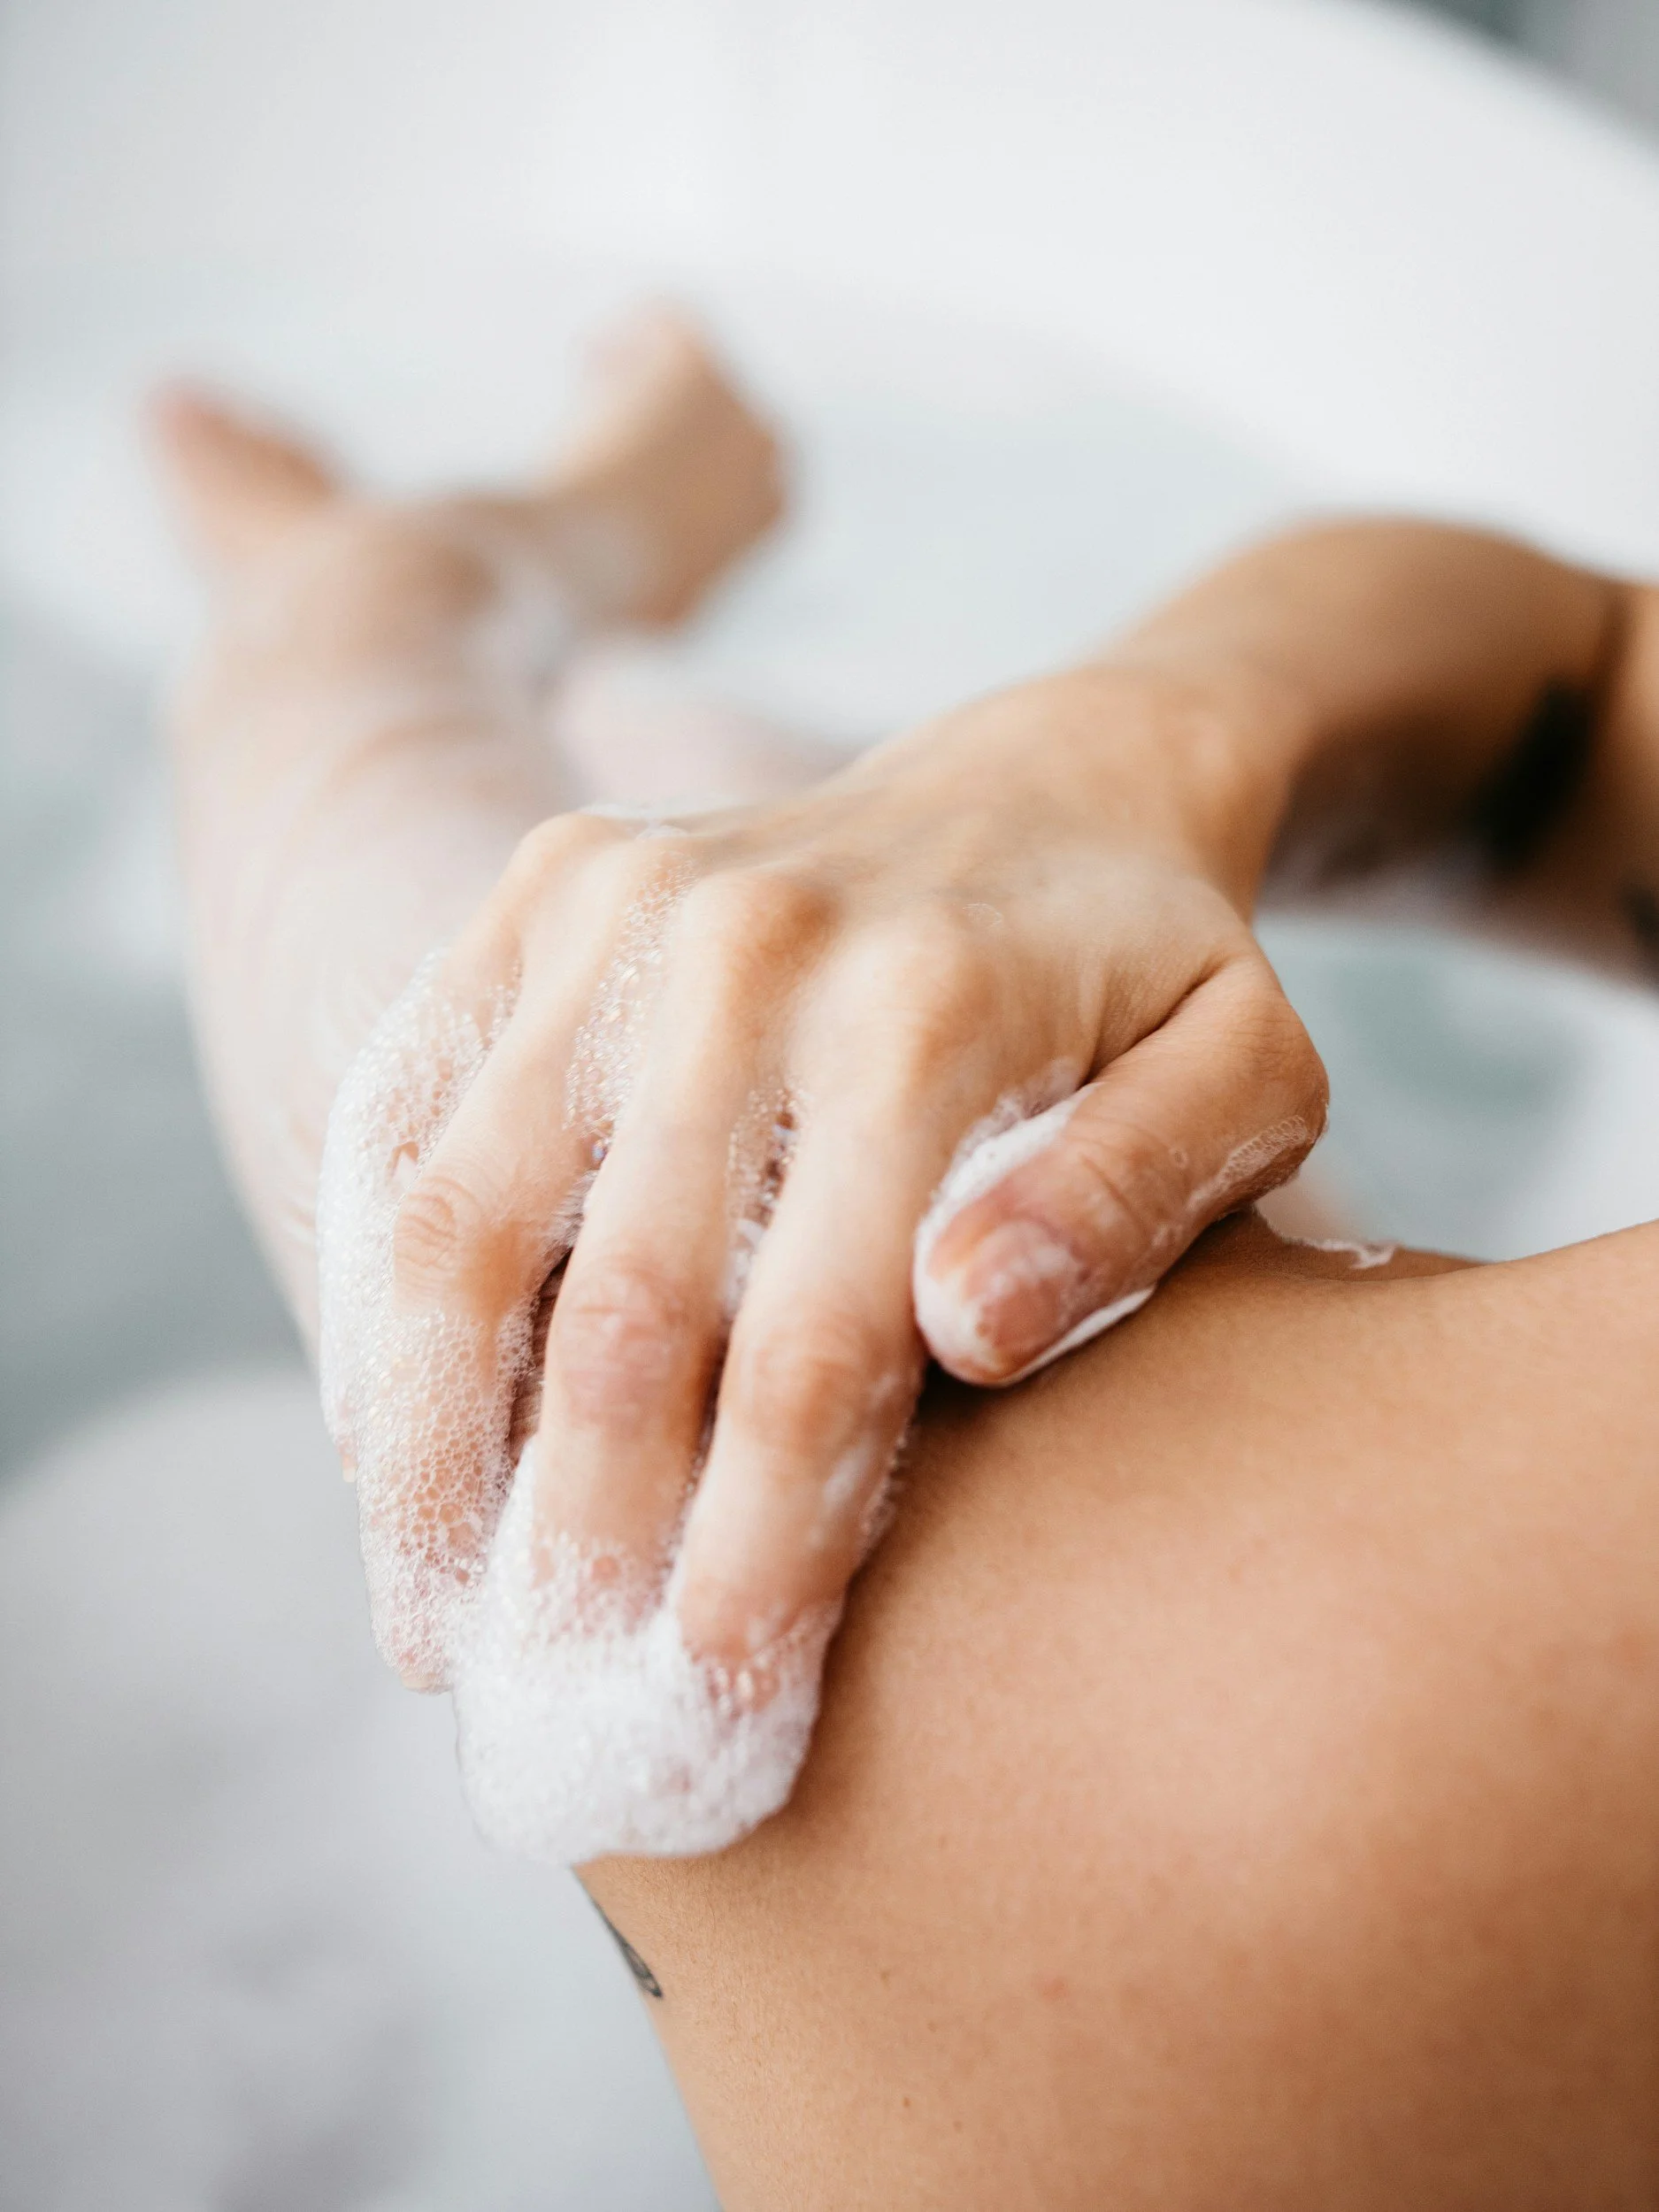
A great tattoo can be damaged by poor aftercare. The routine doesn't need to be complicated, it just needs to be consistent.
Cleansing and moisturizing in the first two weeks
Cleanse gently once or twice a day with a fragrance-free, non-stripping cleanser. Pat dry, never rub. Apply a thin layer of a recovery cream or unscented lotion after each cleanse. If skin is very dry or peeling significantly, a thin layer of occlusive ointment like Aquaphor can help. Avoid soaking the tattoo in baths, pools, or the ocean until it is fully healed.
Products worth using and what to skip entirely
Commonly recommended aftercare options include gentle cleansers designed for sensitive skin, recovery creams like Avène Cicalfate+, and mineral sunscreen once the surface has closed. These are frequently cited in dermatology and professional aftercare guidance, confirm with your artist or a healthcare provider that any product suits your skin type. Skip retinoids, acids, exfoliants, and any active-ingredient products until fully healed. Once the tattoo is healed, applying mineral SPF regularly protects the ink from fading over time. That last step is the one most people forget.
The first tattoo doesn't have to feel like a leap
Preparation is what separates a stressful first experience from a confident one. These first tattoo tips cover the decisions that actually matter: finding an artist whose healed work speaks for itself, preparing your body honestly, understanding the real tattoo healing timeline, and following a consistent aftercare routine. Every piece of that groundwork pays off in the chair and in the weeks after.
If you're in the Greater Vancouver or Fraser Valley area and considering crossing the border for your first piece, Tattoo Garden in Everett is a private, single-artist studio worth looking into. Verify their current offerings directly, ask your questions, and give yourself enough time before booking to feel genuinely ready. That preparation is the work, and it's already most of the job done.